Table of Contents
Introduction
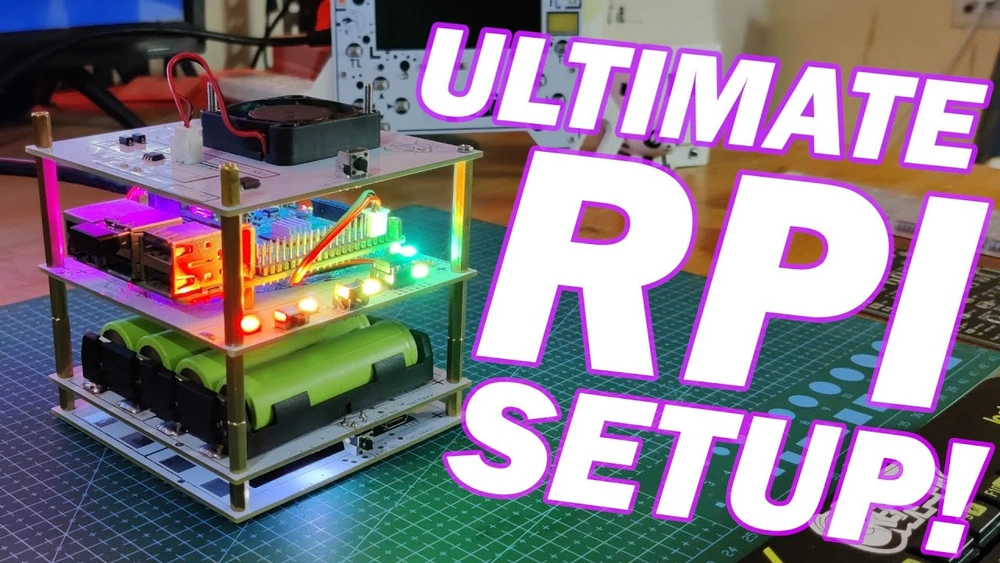
This is a really cool project I came across over on instructables.com by a fella named Arnov Sharma. What it does in a nutshell is provide more amperage, adds active cooling, plus some multicolor LEDs to a Raspberry Pi 3. By supplying more current than you can squeeze out of the average wall wart via some 18650’s, heatsinks and fans the old Pi 3 can run Minecraft and Doom well.
Overview
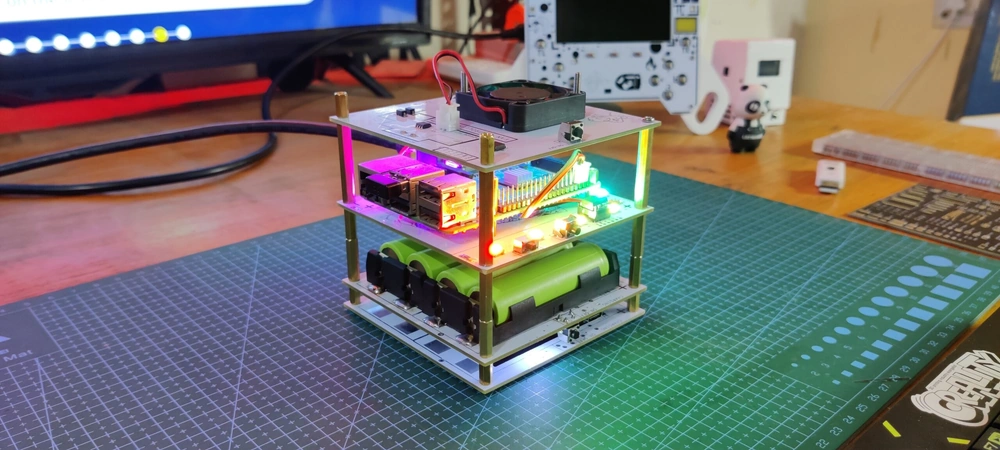
There is an incredibly detailed walkthrough of the build process over on the SANDWICH DOT IO Instructables page. The name comes from the fact that once complete this project has 3 layers which somewhat resembles a sandwich.
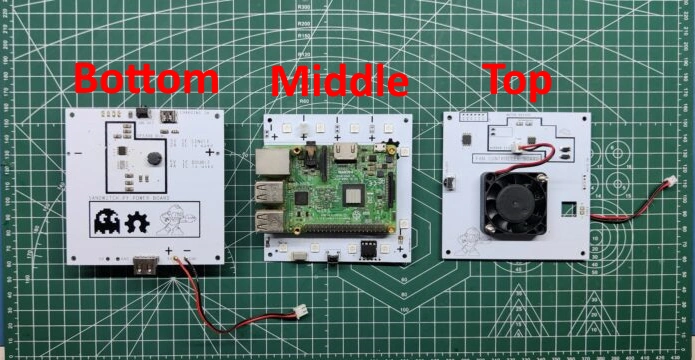
The Layers
The first layer is the battery layer. This is where the 18650’s live along with their charge controller and assorted electronics. These power the fans LEDs and anything else that may be added in the future which would take 5V.
The second layer is where the Raspberry Pi 3 B+ lives. It is attached with standoffs and is powered off of mains power by a wall adapter.
The third layer is where the fans are mounted. A DC 5V fan is placed right on top of the Raspberry Pi processor blowing straight down and is powered by a proper fan driver made by using a MOSFET IC controlled by an Attiny13A.

The materials list for this project you will find below.
Materials List
- Custom PCBs
- Raspberry Pi Model 3B+ (can use any Pi version)
- DC 5V Fan
- PCB Standoffs
- Attiny85 THT
- Attiny13A SMD
- AO4406 Mosfet IC
- WS2812B LEDs
- JST connectors
- JST wire harness
- Li-ion cell 18650 holder
- Li-ion cells
- IP5306 IC
- 1uF Capacitors
- Type C USB Port
- Normal USB port
- Vertical Switch
- Slide switch ON OFF
- indicator LEDs 0603 package
- SD Card

Conclusion
If you’ve already watched the video and think this may be something you’d care to try, head on over to the Instructables page to see the whole build in detail. It’s well worth the time spent.
Related
While a Raspberry Pi is far different than a standard microcontroller, they are often used together, such as with the charge controller for this very project. We compare commonly used microcontroller boards in our ongoing series here. For a quick comparison of different microcontroller boards, we have a handy table here.