
Table of Contents
Introduction
This is part of our multipart rundown of microcontrollers for hobbyists and tinkerers. See here for our microcontroller board comparison table of all of the microcontroller boards covered thus far.
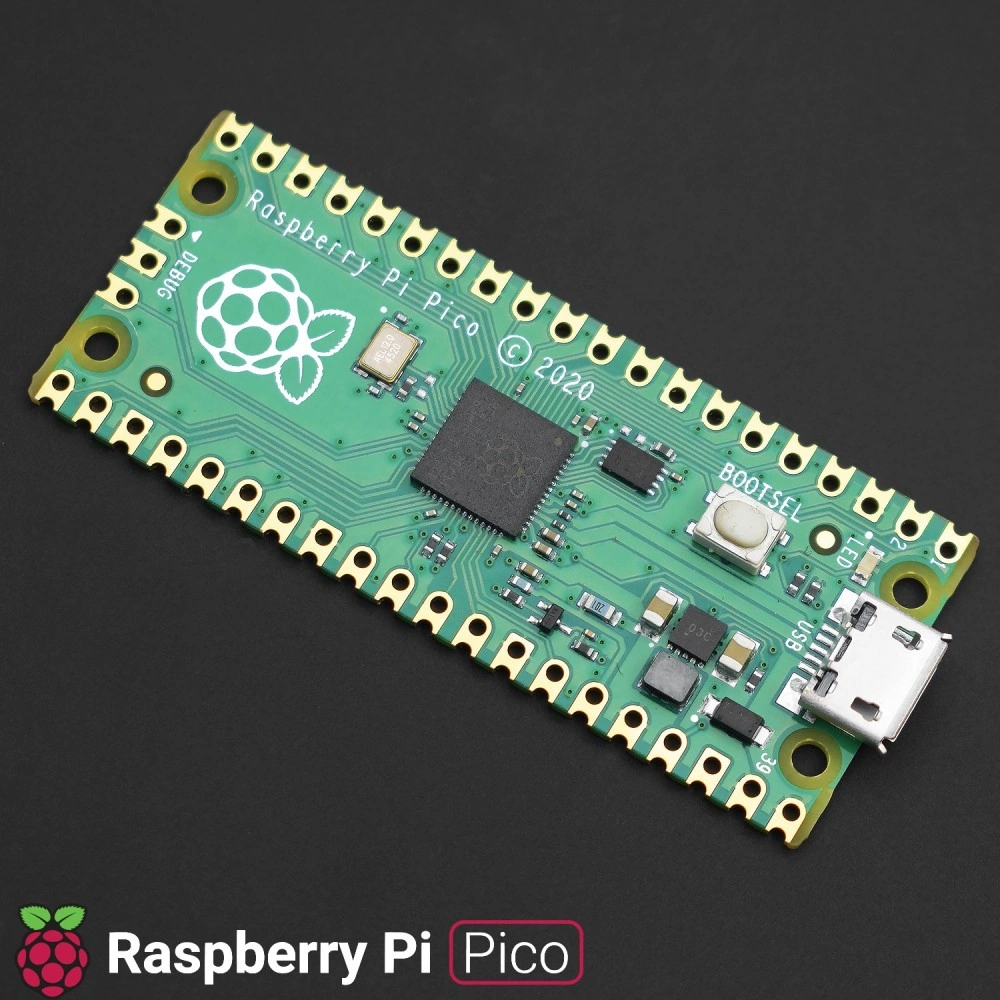
The Raspberry Pi Foundation is well-known for its single-board computers, which are popular among makers and hobbyists. But in January 2021, the foundation released a new product that took many people by surprise: the Raspberry Pi Pico, a microcontroller board that’s small, affordable (it retails for $4), and versatile.
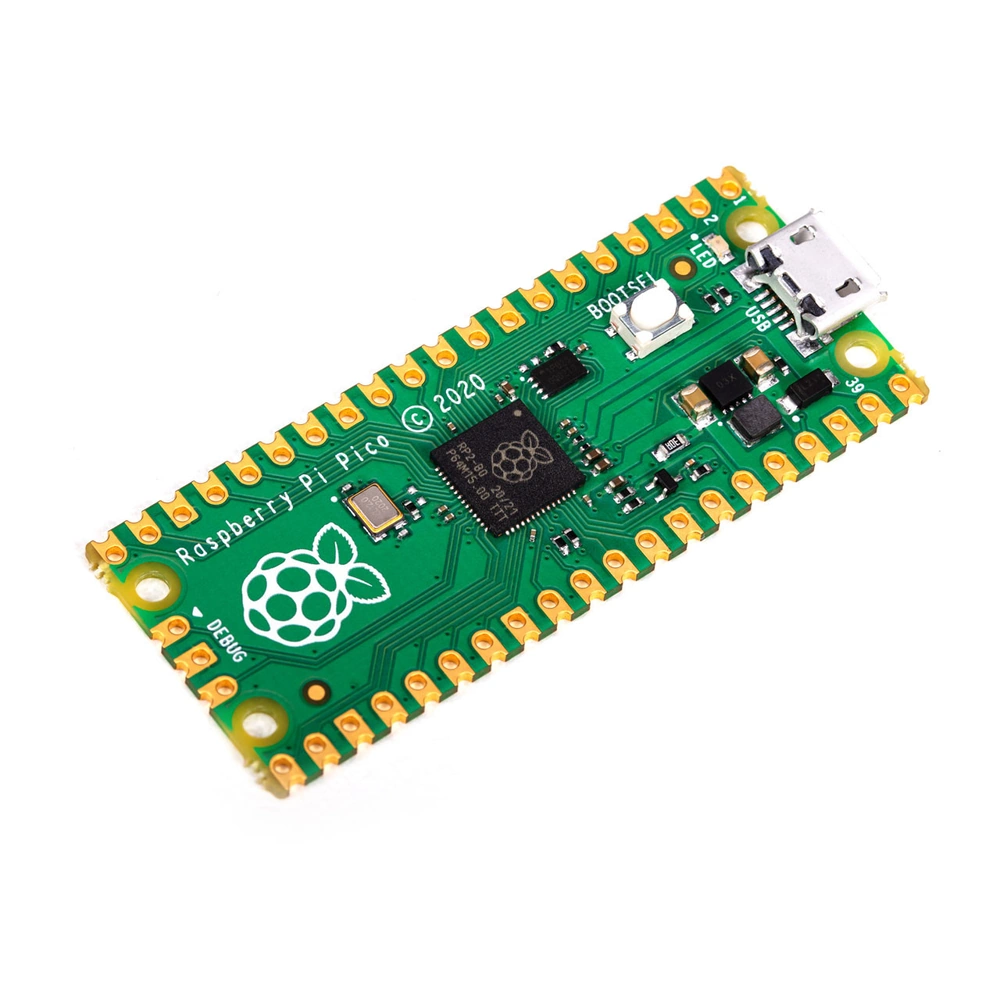
At first glance, the Pico looks like a simple board with a few components: a microcontroller, a USB port, some GPIO pins, and a few other chips. But under the hood, the Pico is a powerful device that can be used for a wide range of projects, from simple LED blinkers to complex robotics and automation systems.
The Raspberry Pi Pico is actually a family of low-cost, high-performance microcontroller boards based on the RP2040 chip. The Raspberry Pi Foundation, has developed the
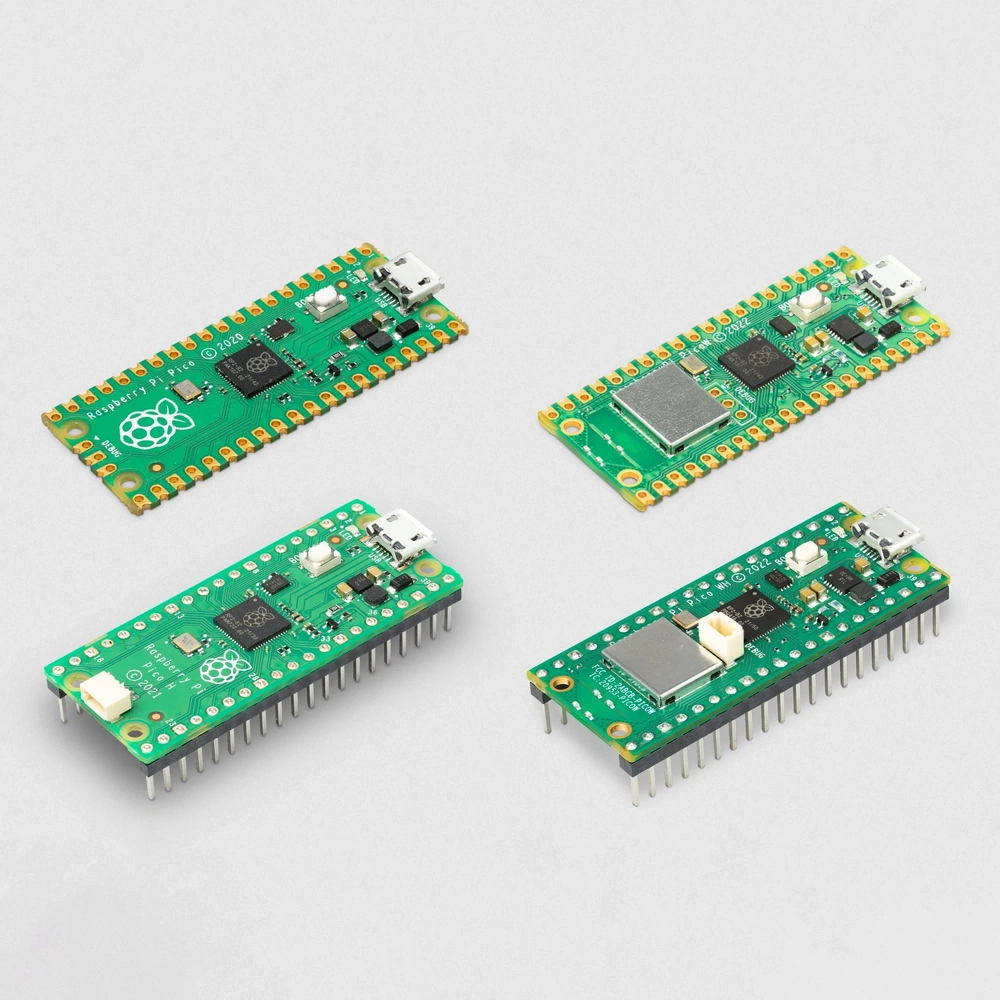
- Raspberry Pi Pico
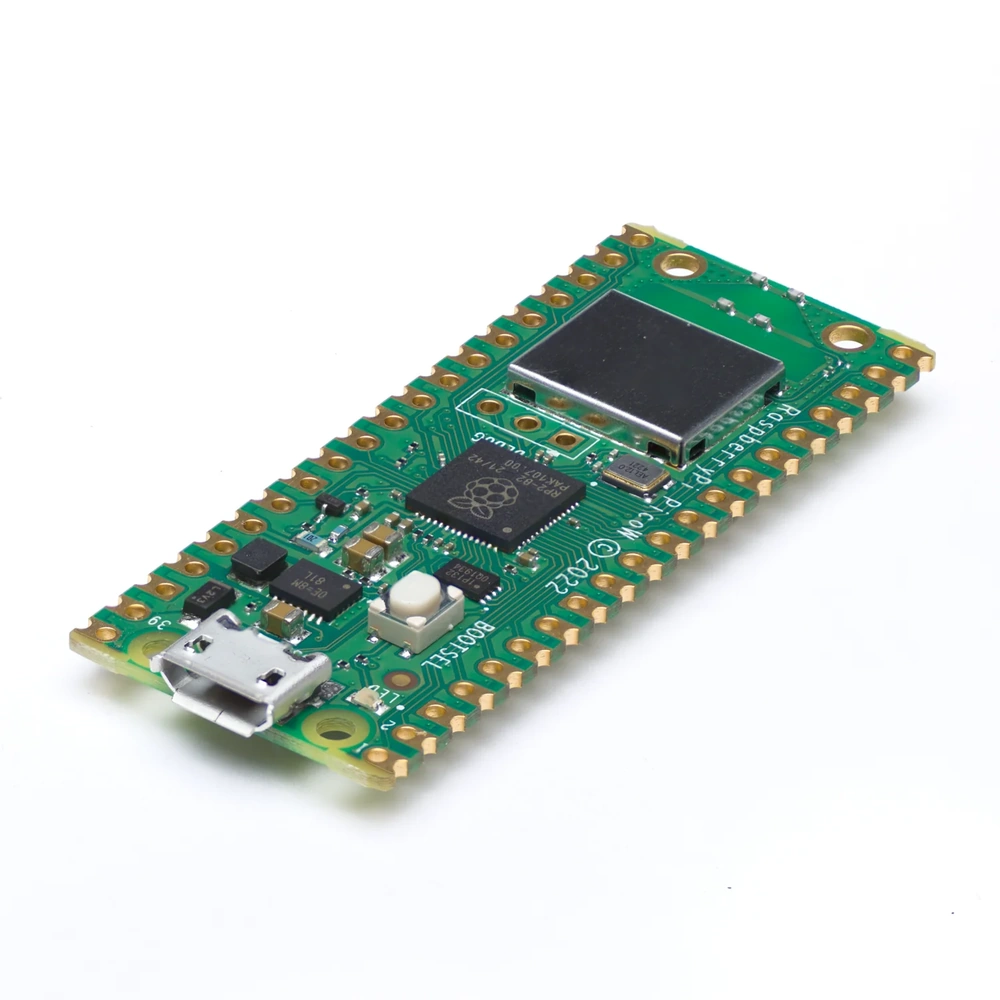
- Raspberry Pi Pico W (The W stands for wireless it comes with onboard Wi-Fi radio)
- 2.4GHz 802.11n wireless LAN
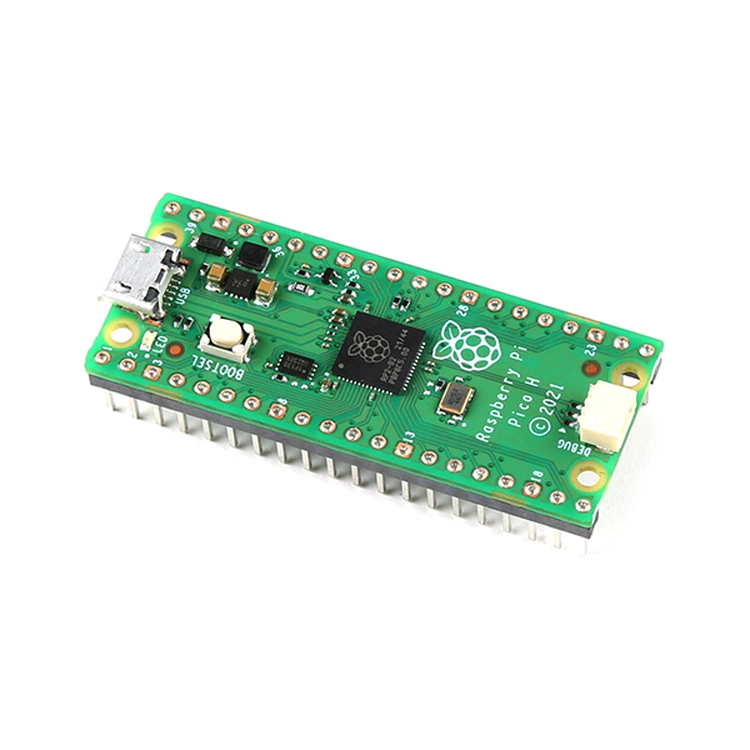
- Raspberry Pi Pico H (The H means that it comes equipped with header pins.)
- Raspberry Pi Pico WH (If haven’t figured what WH stands for go give your phone & computer a bath then come back. We’ll wait.)
It’s fair to say that with this line of microcontroller boards the Raspberry Pi Foundation has become quite the popular choice for embedded programming projects. So, what is the Raspberry Pi Pico, and how can you use it in your projects? Let’s take a closer look.
Specifications
The Raspberry Pi Pico is a compact board that measures just 51mm x 21mm. It is built around the RP2040 microcontroller chip, which features a dual-core Arm Cortex-M0+ processor with clock speeds of up to 133MHz. — Overclockable. — The board also includes 264KB of on-chip RAM, and 2MB of on-board flash memory for program storage.
Digital I/O Pins
The Pico has 26 GPIO pins, which can be used for digital input and output. These pins can be configured using software, and support a variety of protocols and interfaces, including 16xPWM, 2xUART, 2xSPI, and 2xI2C. The GPIO pins are also 5V tolerant, which means they can be used with higher voltage devices without the need for level shifters.
Analog Input Pins
In addition to the digital I/O pins, the Pico also has 3 analog input pins. These pins can be used to read analog signals, such as sensor data or variable voltages. The Pico’s analog inputs have a resolution of 12 bits, which means they can detect changes in voltage down to a few millivolts.
Communication Interfaces
The Pico includes a number of communication interfaces, which allow it to communicate with other devices and peripherals. These interfaces include:
- UART: A serial interface that can be used to communicate with other microcontrollers, sensors, or devices.
- SPI: A high-speed interface that can be used to communicate with sensors, displays, or other peripherals.
- I2C: A two-wire interface that can be used to communicate with a variety of sensors and devices.
- USB: The Pico can be used as a USB device or host, which allows it to communicate with other USB devices, such as keyboards, mice, or storage devices.
Memory
The Pico has 264KB of on-chip RAM, which is split into two banks to support multi-core processing. The Pico also includes 2MB of on-board flash memory for program storage. This flash memory is split into two sections: a 16KB boot ROM, which contains the Pico’s bootloader, and a 1.92MB user area, which can be used for program storage.
Power
The Pico can be powered using a micro-USB cable or an external power supply. The board has a built-in voltage regulator, which allows it to operate with input voltages between 1.8V and 5.5V. The Pico also has a low-power sleep mode, which can be used to conserve battery life in battery-powered projects.
Compatibility
The Pico is compatible with a wide range of programming languages and environments. It can be programmed using C or C++, using the RP2040 SDK or third-party libraries. The Pico can also be programmed using MicroPython, a version of Python that has been optimized for microcontrollers. Finally, the Pico is compatible with CircuitPython, a beginner-friendly version of Python that includes built-in support for common sensors and peripherals.
Programming
Programming the Pico is relatively simple. The Pico can be programmed using a variety of tools and languages, including the C, C++, MicroPython, and CircuitPython. The Pico is also compatible with a number of integrated development environments (IDEs), including VisualStudio, Thonny, and the Arduino IDE.
If you’re new to microcontrollers or embedded programming, the Raspberry Pi Pico is a great place to start. The Pico is easy to set up and use, and there are plenty of resources available to help you get started.
In order to begin programming the Pico, you’ll need a few things:
- A Raspberry Pi Pico board
- A USB cable
- A computer with a USB port
- A text editor or integrated development environment (IDE)
Once you have these things, you can follow these steps to get started:
- Download and install the MicroPython firmware for the Pico. MicroPython is a Python implementation that’s designed for microcontrollers, and it’s a great way to get started with the Pico.
- You can download the firmware from the Raspberry Pi website, and there are instructions available for how to install it.
- Connect the Pico to your computer using a USB cable. When you connect the Pico to your computer, it should appear as a USB mass storage device.
- Open a text editor or IDE and create a new file. Save the file with a .py extension.
- Write some code!
You can use any text editor or IDE you like to write code for the Pico, here’s an example which blinks an LED to get you started:
| java import machine import time led = machine.Pin(25, machine.Pin.OUT) while True: led.toggle() time.sleep(0.5) |
Conclusion
The Raspberry Pi Pico is a powerful and versatile microcontroller board that is well-suited for a wide range of embedded programming projects. With its low cost, high-performance microcontroller chip, and wide range of communication interfaces and programming options, the Pico has quickly become a popular choice for hobbyists, students, and professionals alike.
Whether you’re just getting started with embedded programming or you’re an experienced developer looking for a powerful and affordable microcontroller board, the Raspberry Pi Pico is definitely worth considering. With its flexible design, powerful features, and wide range of programming options, the Pico is a great choice for a wide range of applications, from robotics and automation to IoT and smart home projects.
Related
You can find all of our detailed microcontroller board rundowns here, all of the information here plus more can be found in a more digestible form at our microcontroller comparison table. If you’re just dying to get your hands on one of these bad boys, you can help the site out as well by clicking through our Amazon link to buy one.
[…] a writeup for the Alpakka DIY game controller for quite a while now. However, I wanted to get the microcontrollers post covering the Raspberry Pi Pico out first. — For obvious reasons. — Since that is now complete let me introduce you all […]