Table of Contents
Introduction: Too Many Icons.
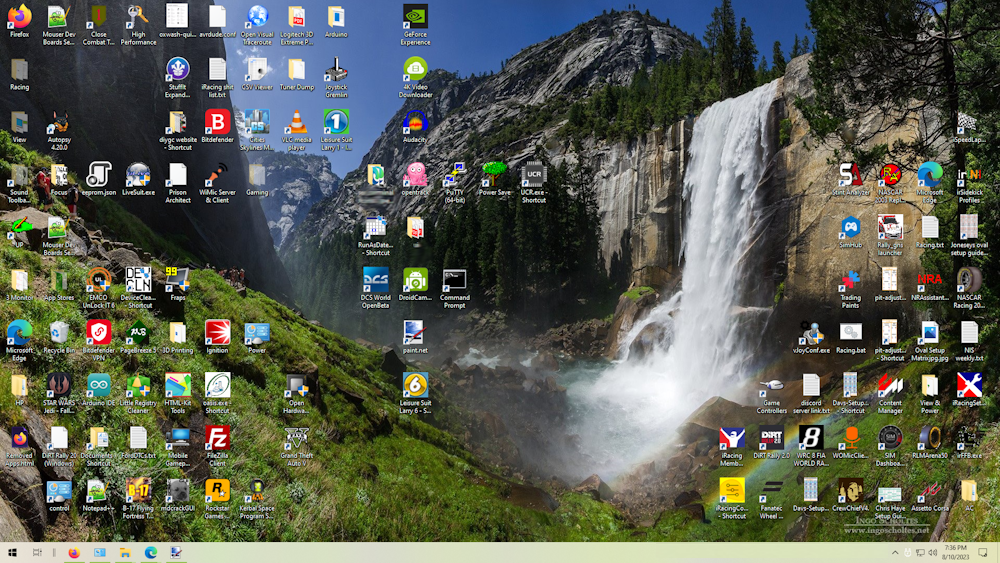
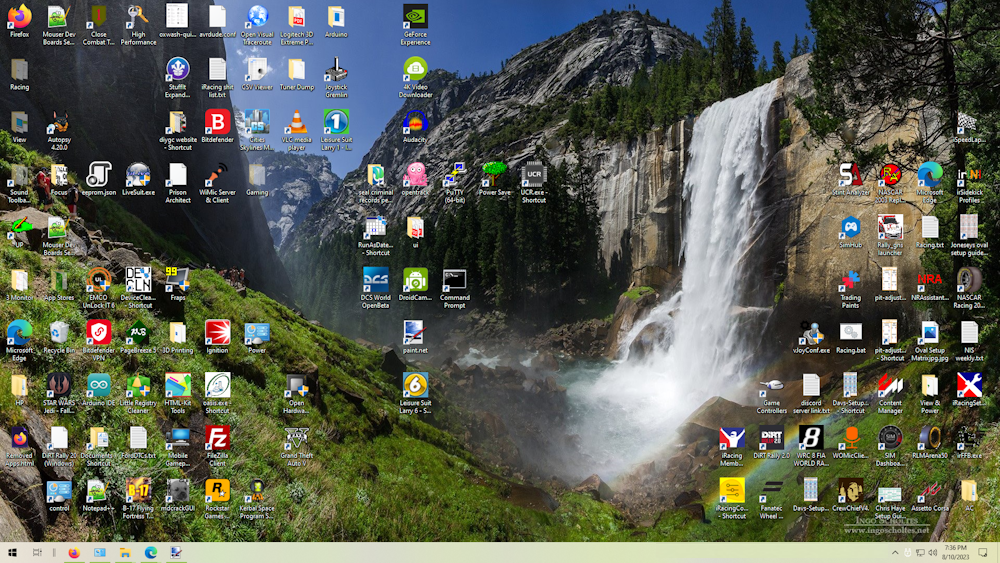
Do you badly need to declutter your desktop? If yours is anything like the complete mess mine, is you do? Are there far too many icons on your desktop for you to be productive? Since you’re reading this then I feel safe going out on a limb to say that the answer is a resounding yes. The bad part is that you actually use nearly all of those applications at various times too.
Well fear not, for I have the solution, and best of all it does not involve installing anything new so no adding yet another icon to your desktop! To declutter your desktop, it’s time to whip out the toolbars. Many of you probably haven’t heard of or much less encountered a toolbar since the bad old days of Windows XP. Back when the spyware and ad ware makers would just dupe you into installing some useless monstrosity that never did anything and used up most of your 56k of bandwidth for ads that advertised even more shady and useless products and services.
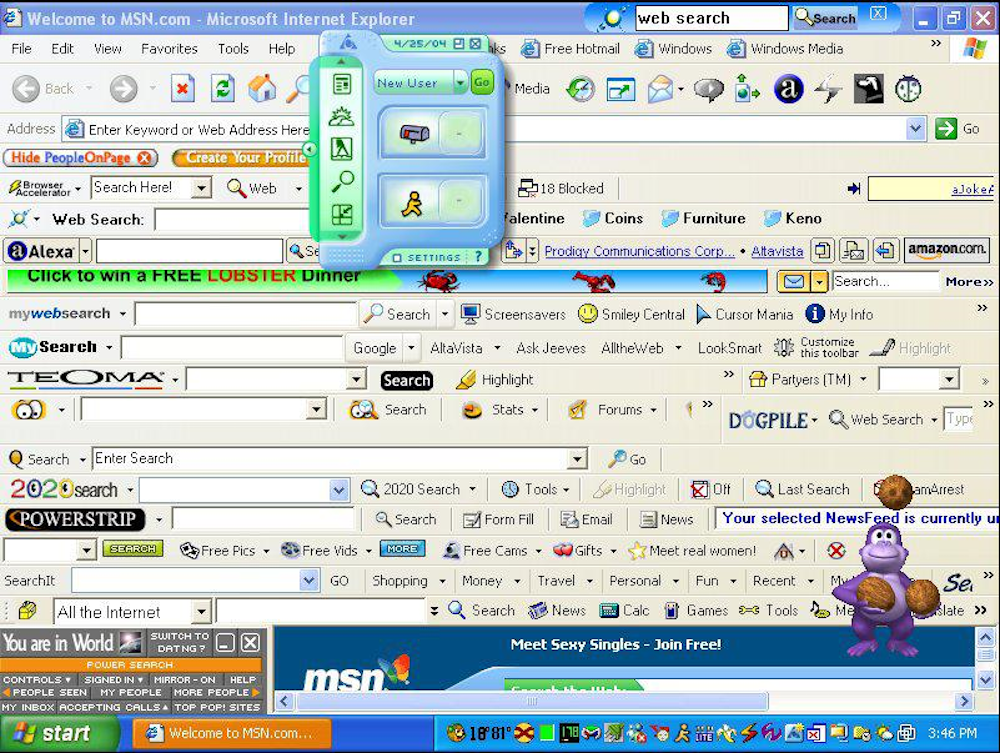

That’s the OG ChatGPT right there. Don’t worry it’s nothing like monstrosities above we are going to make these toolbars ourselves. Let’s get started.
Declutter your Desktop Step 1: Create desktop folders.
The desktop acts much like your computer’s other storage locations, which means you can organize it with folders and subfolders. So, take a look at the types of items you drop on your desktop and see if they fall into categories like internet downloads, 3d modeling, gaming, etc. Then for any category where you can list 4 or 5 shortcuts go ahead a make a folder for each, then populate it with the corresponding icons by cutting and pasting them from your desktop.
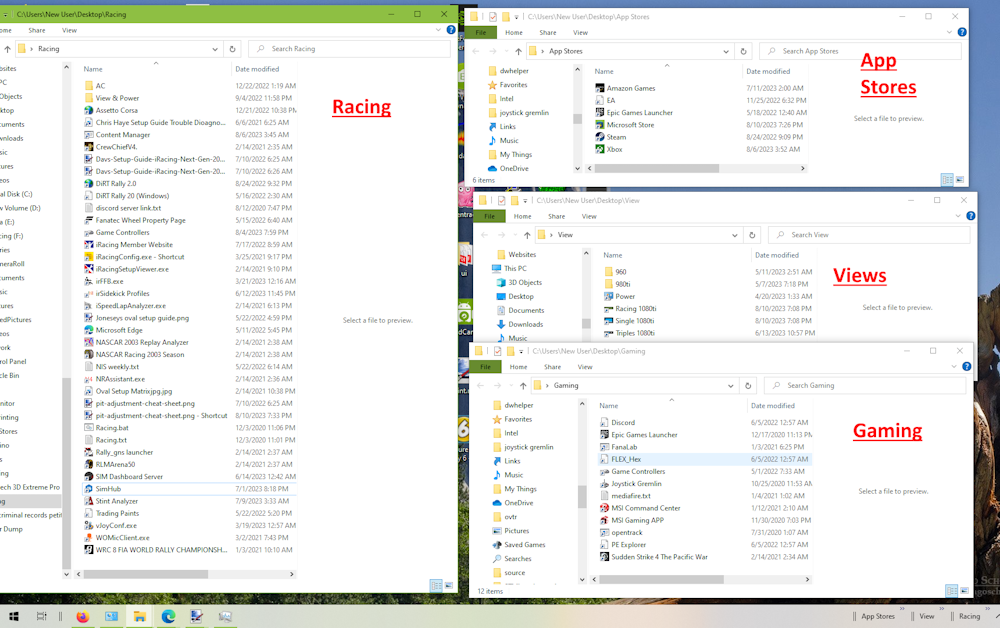
It’s best to give your folders as short of a name as possible, while still letting you know what is inside of each. If you like you can also add subfolders inside each folder if you’d like to subdivide things even more.
Declutter your Desktop Step 2. Create Toolbars from the Folders
Next step is easy, just right click down on your taskbar the top item in the context menu should be a foldout called “Toolbars.“
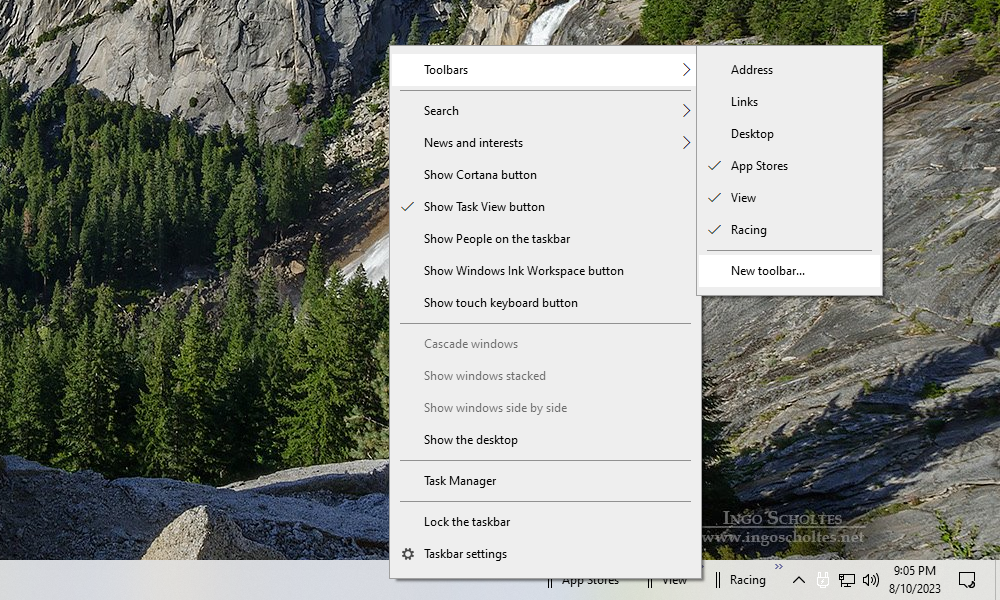
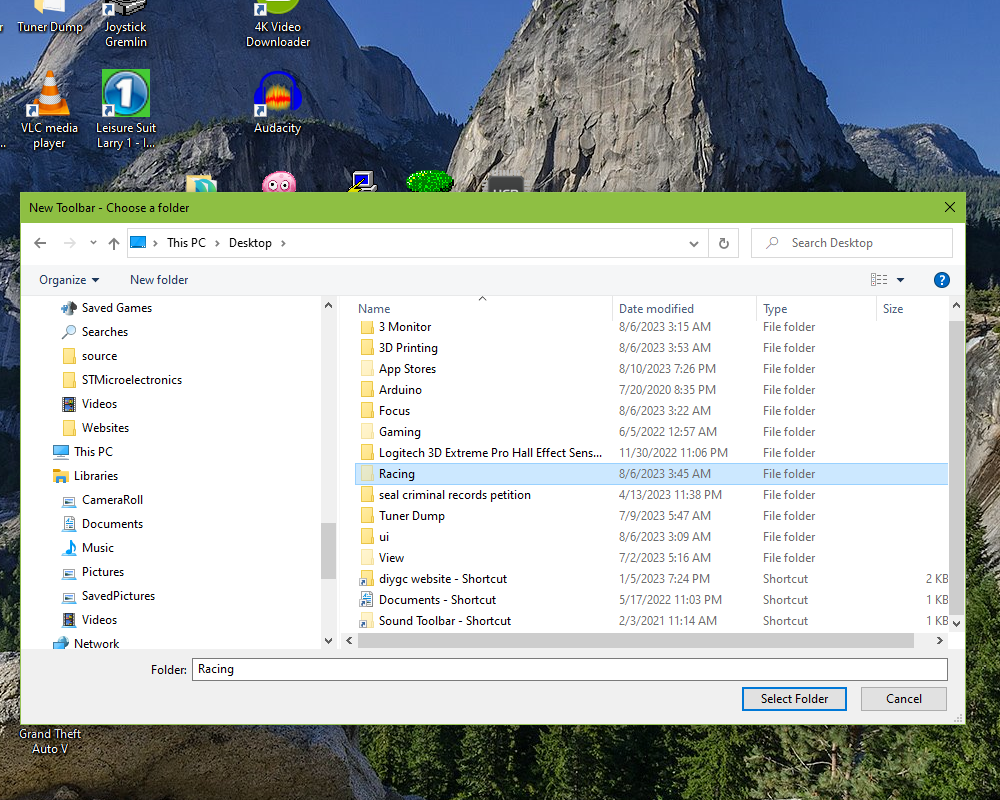
The bottom item from the “Toolbars” slide out should read “New Toolbar.” Go ahead and click that, in the next dialog box you’ll choose one of your newly created folders to use as a brand-new toolbar. Don’t forget you’ll have to navigate to the desktop to find your folders.
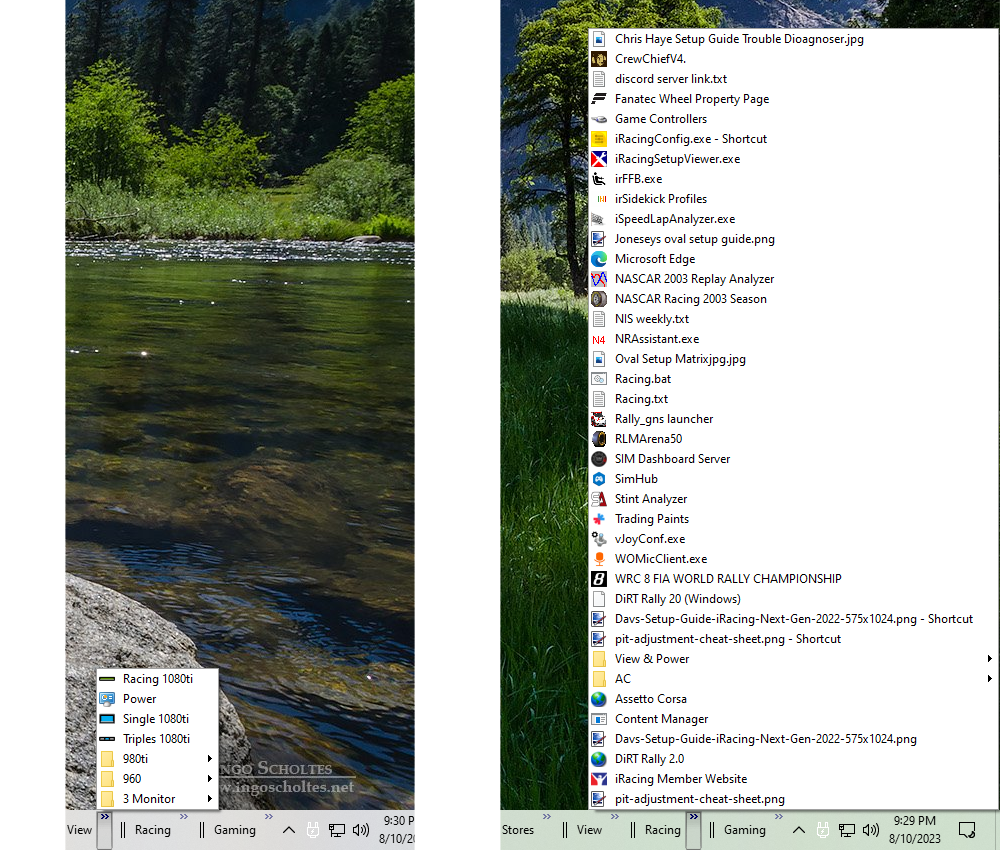
Just like that you’ll have a new toolbar on the bottom right side of your taskbar. When you click the little arrows, it will expand to show all of the icons you put inside. If ever your toolbars get spread out on the taskbar just grab them (left, click) and drag them back over to the righthand side where they belong.
Declutter your Desktop Step 3: Hide the Folders
For the final step and so we don’t have our taskbar folders cluttering up our desktop either, go to each of the folders you used to create your new taskbars. right click it, choose “Properties” and under “Attributes” choose “Hidden.” When the dialog box pops up be sure to select “This folder only” the option on top.
If you want to add more icons to your folders or if you need to do something with them in order to see them again, you’ll have to go to “Control Panel” in the “View by” pulldown select “Large Icons” then click on “File Explorer Options” in Windows 10. On the second page you’ll see 2 radio buttons in the middle of a bunch of checkboxes. You want to enable the one that says, “Show hidden files, folders, and drives.“
All of your toolbar folders will be visible on your desktop after hitting “Apply“.
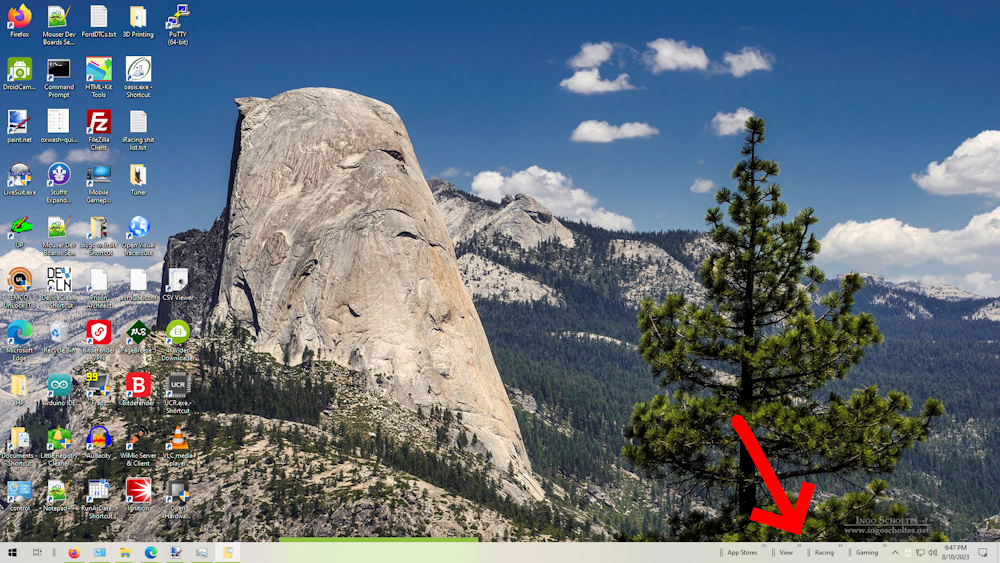
Declutter your Desktop, the Conclusion
That’s all there is to it! All of the shortcuts to my programs are neatly filed away in their own toolbar which makes them easier to find when I need them, and my desktop clutter is gone!
I hope you found this helpful.
Related
Want the best utility to make running three monitors on a computer that you use for things other than gaming tolerable? When you’re ready to veg out and watch some YouTube videos we’ve got a list of the best channels dedicated to combat flight sim and racing simulations on the platform.
